For both the bearing flange, and the thermoformed piece, the initial settings used were the final settings. For the flange, the small size allowed for rapid cooling times, and the part filled very quickly. The thermoformed piece showed very little variation as the parameters changed, so the initial ones were chosen to be the final ones.
 |
| Bearing Flange Process Parameters |
 |
| Thermoformed Process Parameters |
Process Optimization
Even before assembling a completed yo-yo, some issues were apparent immediately with our injection molding and thermoforming processes.
1. When injection molding the main body pieces, the parts were likely too thick, and thus didn't cool fast enough, so when the ejector pins pushed against the part, they penetrated all the way through and ruined the piece. To remedy this, we implemented two changes. The first was to add a metal shim where the ejector pins pushed out, which distributed the load and prevented the pins from pushing through. The second change was intended to reduce the force needed to eject the part; with twenty dowel pins creating cavities on our part, there was a lot of surface area, and vertical wall engagement, so we added draft to all twenty dowel pins with a mill. These two changes allowed us to injection mold consistent body pieces.
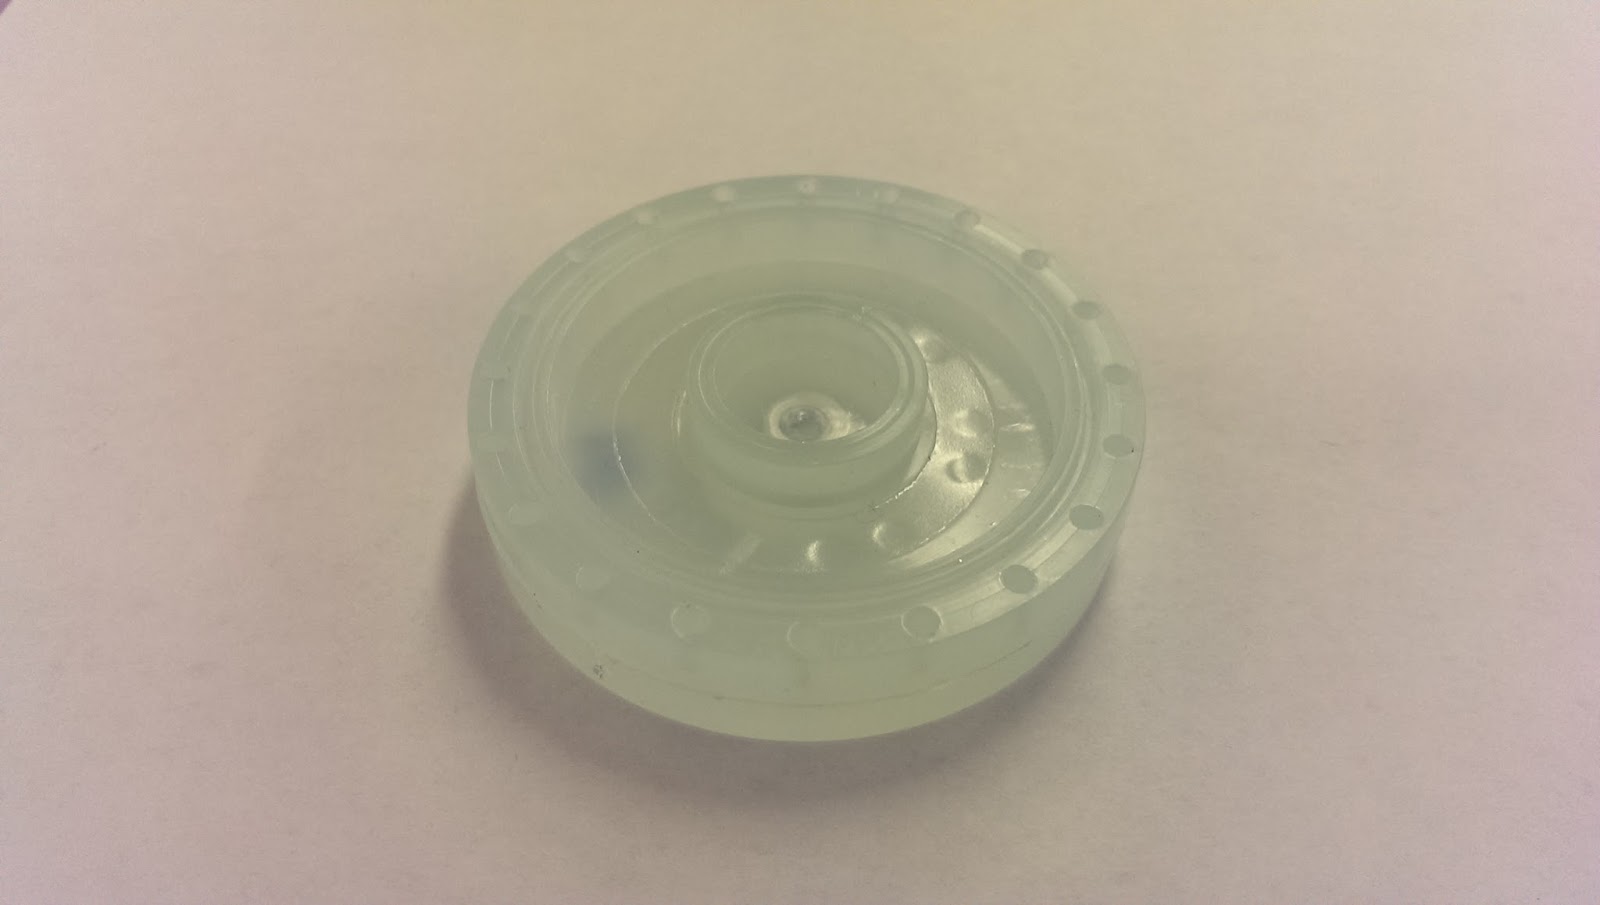 |
| Main Body Piece (notice circular dents on the inner portion) |
2. The thermoformed covering we designed came out almost perfect the first time around. The channel running across the center lacked air holes though, so when the plastic was vacuumed down over the mold, it did not completely fill in the channel. After discovering a problem in the assembly, we redesigned the thermoform mold to be a little taller, and included the extra air holes to increase the suction in the channel.
 |
| Thermoform Mold (.140" taller and includes vacuum holes in the channel) |
3. We noticed the bearings for the connector piece had some grease in them, which prevented easy rotation. To solve that, we used a degreaser to remove the residue, after which the hamster and connector assembly rotated freely.
4. The bearing flange and main body did not have a very good press fit initially, so the hole on the flange mold was enlarged to be 0.243", resulting in a tighter fit.
After all of our parts had been injection molded and thermoformed, we assembled a few complete yo-yos to determine what changes needed to be made.
5. The biggest concern was that the hamster could not spin freely in the whole assembly because the thermoformed piece was too short, which caused interference at some points. In order to change the height of the thermoformed piece, we also needed to change the height of the cage around it. We added .140 inches to the thermoformed piece, and .050 inches to the pegs in the cage piece. This allowed the thermoformed piece to be clear of the rotating hamster, and it created a better fit between the thermoformed piece and the cage, which were previously no mating together.
 |
| Cage (legs are .050" taller) |